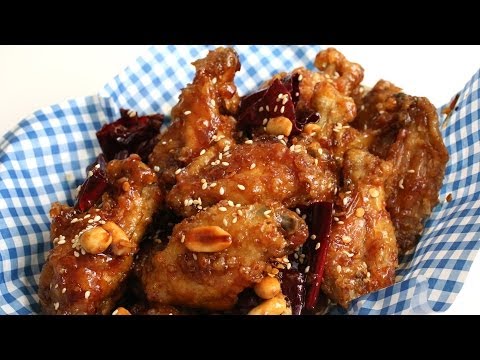
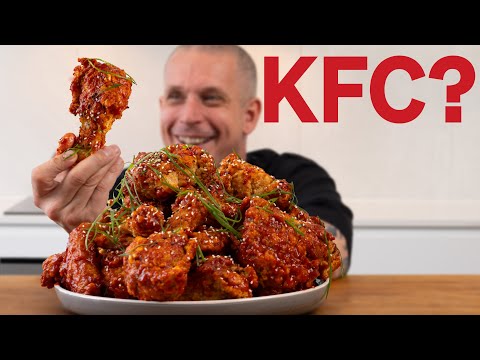
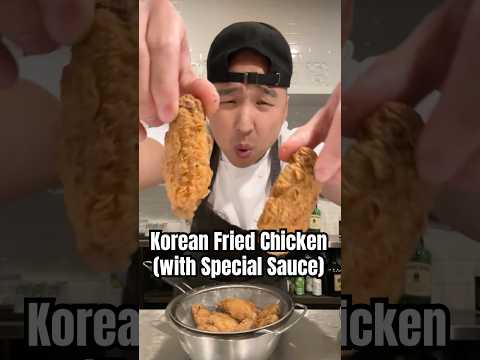
Korean Fried Chicken (Yangnyeom Chicken)
Korean Fried Chicken (Yangnyeom Chicken) is a intermediate Korean recipe that serves 6. 650 calories per serving.
Prep: 1 hr | Cook: 50 min | Total: 2 hrs 10 min
Cost: $28.10 total, $4.68 per serving
Ingredients
- 2 each (about 1.5kg/3.3lb each) Whole chicken (Can substitute with 12-14 drumsticks or a mix of thighs and wings)
- 4 tablespoons Fresh ginger (Grated, divided between marinade and sauce)
- 8 cloves Garlic (Grated or minced, divided between marinade and sauce)
- 2 teaspoons Salt (Divided between marinade and sauce)
- 1.5 teaspoons Black pepper (Freshly ground, divided between marinade and sauce)
- 6 tablespoons Gochujang (Korean chili paste) (Medium-hot preferred)
- 4 tablespoons Tomato ketchup
- 3 tablespoons Hot honey (Or regular honey + pinch of chili flakes)
- 2 tablespoons Apple cider vinegar (Or rice wine vinegar)
- 2 tablespoons Soy sauce (Korean soy sauce preferred)
- 2 tablespoons Water (To thin sauce as needed)
- 3 large Eggs
- 2 cups Potato starch (Essential for extra crispiness)
- 2 cups All-purpose flour
- 2 liters Peanut oil (or canola/vegetable oil) (For deep frying)
- 2 tablespoons Sesame seeds (For garnish)
- 2 stalks Spring onions (scallions) (Thinly sliced, for garnish)
Instructions
Break Down the Chickens
Remove chickens from packaging and pat dry. Using a sharp knife, remove the legs by cutting between the breast and leg, then twist to pop the joint and cut through. Separate drumsticks from thighs at the joint. Remove the backbone from the crown. Separate wings and cut breasts in half, leaving bone in for flavor. Trim excess fat if desired.
Time: PT20M
Marinate the Chicken
Place chicken pieces in a large bowl. Add 2 tbsp grated ginger, 4 cloves grated garlic, 1 tsp salt, and 1 tsp black pepper. Toss thoroughly to coat. Cover and refrigerate for at least 1 hour (up to 3 hours for deeper flavor).
Time: PT10M
Temperature: 4°C
Prepare the Sauce
In a saucepan or wok over medium-low heat, add 2 tbsp oil, 2 tbsp grated ginger, and 4 cloves grated garlic. Sauté until fragrant (about 1 minute). Add 6 tbsp gochujang, 4 tbsp ketchup, 3 tbsp hot honey, 2 tbsp vinegar, 1 tsp salt, 0.5 tsp pepper, 2 tbsp soy sauce, and 2 tbsp water. Stir and simmer for 3-4 minutes until slightly thickened but still pourable. Set aside.
Time: PT10M
Temperature: Medium-low heat
Set Up for Frying
Pour oil into a large pot or Dutch oven to a depth of about 2-3 inches (do not fill more than halfway). Begin heating oil to 175°C (350°F). Set up a wire rack over a tray for draining fried chicken.
Time: PT5M
Temperature: 175°C
Dredge the Chicken
In a large bowl, whisk 3 eggs. In another bowl, combine 2 cups potato starch and 2 cups flour. Dip each marinated chicken piece in egg, then dredge in the starch-flour mixture, pressing to adhere and create scraggly bits for extra crunch.
Time: PT10M
First Fry
Fry chicken pieces in batches at 175°C (350°F) for 6-8 minutes, until pale golden and crust is set. Wings and smaller pieces will cook faster; remove as soon as they are ready. Drain on wire rack.
Time: PT20M
Temperature: 175°C
Second Fry
Increase oil temperature to 190°C (375°F). Fry chicken in batches again for 2-3 minutes until deep golden brown and extra crispy. Drain on rack.
Time: PT10M
Temperature: 190°C
Sauce the Chicken
Reheat sauce gently if needed. In batches, toss hot fried chicken in sauce until well coated. Transfer to serving plate.
Time: PT5M
Temperature: Low heat
Garnish and Serve
Sprinkle chicken with sesame seeds and sliced spring onions. Serve immediately with steamed rice, kimchi, and cucumber salad if desired.
Time: PT5M
Nutrition Facts
- Calories
- 650
- Protein
- 38g
- Carbohydrates
- 45g
- Fat
- 34g
- Fiber
- 2g
Dietary info: Not vegetarian, Not gluten-free, Contains soy, high-protein
Allergens: Eggs, Wheat (gluten), Soy
Ingredient Substitutions
- Instead of Whole chicken: Pre-cut chicken pieces (drumsticks, thighs, wings)
- Instead of Fresh ginger: 1 tbsp ground ginger (per 2 tbsp fresh)
- Instead of Garlic: 2 tsp garlic powder (per 4 cloves)
- Instead of Gochujang (Korean chili paste): Ssamjang (for milder flavor), Mix miso + chili paste
- Instead of Hot honey: Brown sugar
- Instead of Apple cider vinegar: Rice wine vinegar, White vinegar
- Instead of Soy sauce: Tamari, Light soy sauce
- Instead of Eggs: Buttermilk (for dredging)
- Instead of Potato starch: Cornstarch (less crispy)
- Instead of Peanut oil (or canola/vegetable oil): Canola oil, Sunflower oil
Equipment Needed
- Chef's knife
- Cutting board
- Large mixing bowls
- Microplane or grater
- Large pot or Dutch oven (for frying)
- Thermometer (for oil)
- Tongs
- Wire rack and tray (for draining)
- Medium saucepan or wok (for sauce)
- Spoon or spatula
Critical Steps — Do Not Skip
- Break Down the Chickens
- Prepare the Sauce
- Set Up for Frying
- Dredge the Chicken
- First Fry
- Second Fry
- Sauce the Chicken
Chef Tips from the Video
- Potato starch is key for authentic crunch; cornstarch is a backup but less crispy.
- Use a thermometer for oil—guessing leads to soggy or burnt chicken.
- Keep batches warm in a 120°C (250°F) oven if needed.
- If you want extra spicy, add a bit of gochugaru (Korean chili flakes) to the sauce.
Troubleshooting
Chicken coating falls off during frying.
Pat chicken dry before dredging; ensure even coating and do not overcrowd oil.
Chicken not crispy after saucing.
Double fry at correct temperatures; toss in sauce just before serving.
Oil splattering excessively.
Dry chicken thoroughly and do not drop pieces from height.
Sauce too thick or sticky.
Add a splash of water and reheat gently to loosen.
Storage
Refrigerator: Store leftover chicken in airtight container for up to 2 days. Reheat in oven for best crispiness.
Freezer: Fried (unsauced) chicken can be frozen for up to 1 month. Reheat in oven before saucing.
Room temperature: Safe for up to 2 hours after frying.
Make-Ahead Tips
- Chicken can be broken down and marinated up to 24 hours in advance.
- Sauce can be made up to 3 days ahead and refrigerated.
- First fry can be done 1 hour ahead; second fry just before serving for maximum crispiness.
Last updated: August 21, 2026